In the realm of web analytics, the implementation of robust tracking solutions is paramount. Google Analytics 4 (GA4) stands out as a powerful tool that provides deeper insights into user behaviour and engagement. To harness its potential seamlessly, integrating the GA4 code through Google Tag Manager (GTM) is a strategic move. In this blog post, we’ll walk you through the step-by-step process of installing the base GA4 code in GTM, unlocking a world of advanced analytics and data-driven decision-making.
In recent days, tag manager and Google Analytics have changed a lot and every week there is something new to the site and sometimes it’s very difficult to keep up with it.
Google has recently changed the new way to install the base code of Google Analytics 4 into the tag manager. The new Tag configuration has been updated and simplified
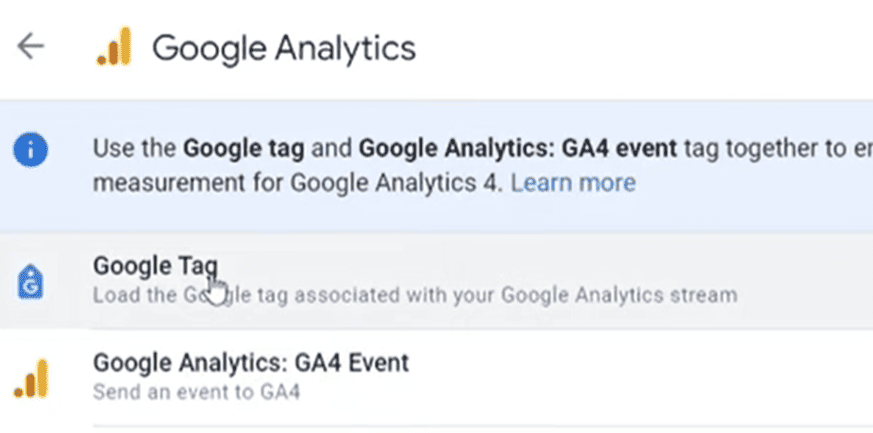
If you go to the new Google tag manager’s, tag configuration than now you can choose between the base code and GA4 event separately. The Google tag mainly deals with the Google Analytics Base code and the Google analytics event deals with the events that are fired on your website.

In Google Analytics
Base Google Analytics 4 Code
But first, we need to get the Google Analytics 4 base code from the analytics. So to get the base code, you need to go to your Google Analytics account and copy the code from the admin section,
- Go to Admin
- Click on DataStream

- Choose the website that you connect your Google Analytics account with
- and now you will see your GA4 base code that you can just copy the Code

In Google Tag Manager
So, now we will look at how to connect the new GA4 tag in the new Google tag manager.
Creating Variable
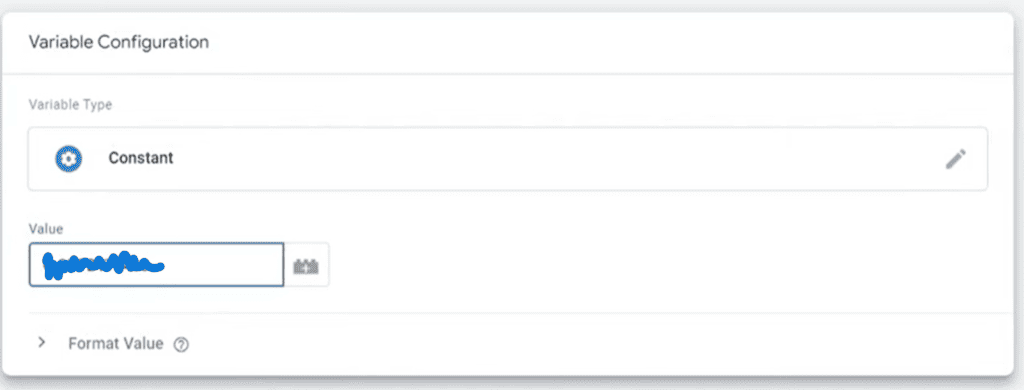
Now it is recommended to put the GA4 code as a new variable
- Go to the variable
- New Variable on the Variable configuration
- Choose Constant
- Paste the Google Analytics 4 base code
- And Save the Variable

Creating Tag
Now to create the tag it straight a straightforward process.
- Go to the Tag Section
- Click on New Tag
- Now choose the tag Configuration as Google Analytics

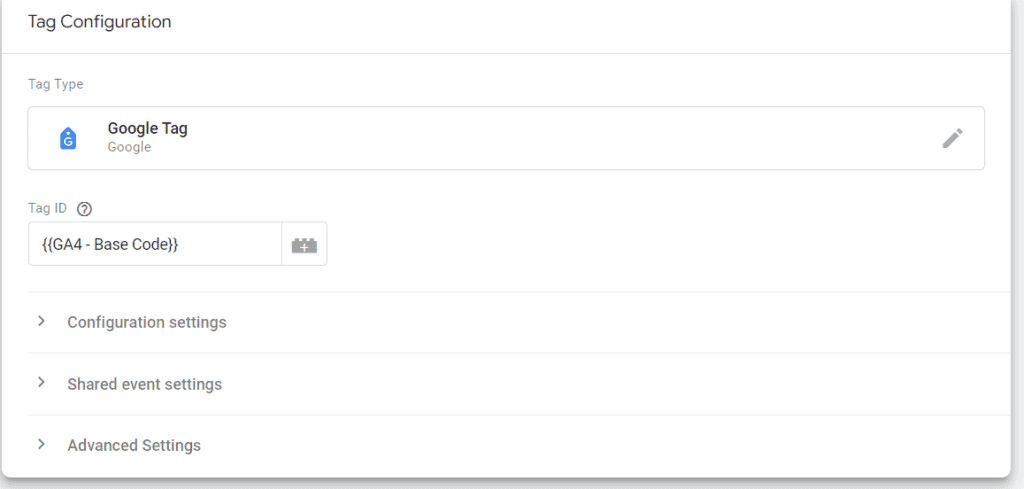
- and Choose the new Tag called Google Tag

- In the new Google tag, choose the above Content that we created above.

Creating trigger
Choosing the trigger is fairly simple, just because this is your first tag, you won’t have many triggers in your trigger section and the base Google tag needs to be fired on all of your pages so you can just choose Initialization -All Page Trigger

Preview and Publish:
After configuring the GA4 tag, use the “Preview” mode in GTM to test its functionality.
- Browse your website and confirm that the GA4 tag is firing correctly in the GTM preview mode.
- Once satisfied with the test results, hit “Submit” in GTM to publish the container changes.
Conclusion
Congratulations! You’ve successfully installed the base GA4 code in Google Tag Manager. This foundational setup enables you to delve into the advanced features of GA4, empowering you with a comprehensive understanding of user interactions and website performance. As you explore the depths of GA4’s capabilities, remember that ongoing customization within GTM can further enhance your analytics setup, providing tailored insights to drive your business forward. Start your journey toward data-driven success today!


